Flat Plaited Herringbone Stitch
I named it Herringbone à la SweetPeas after my website.
The article about this stitch (straight edges and zigzag edges) and the bracelets using it appeared in Bead & Button magazine (April 2002, issue #48). It was called "Plaited herringbone stitch" in these articles. Therefore, I have been using this name ever since.
Plaited Herringbone Stitch has several variations: flat, circular, tubular, and developed versions of them. Moreover, it is possible to combine it with various stitches.
I will explain the flat version and circular version.
The flat version has several variations: "straight edges and v-shaped ends", "straight edges and zigzag ends", and "zigzag edges".
Method of Weaving Straight Edges and V-shaped Ends (Flat Type)
-
Materials: seed beads (size 11/0), needle, thread
-
 Figure 1.
String two beads on a manageable length of thread and leave a 10-in. (25cm) tail. Go back through the first bead (#1) toward the start and go through the second bead (#2) as shown in Figure 1. The first row has been completed. The thread will show around bead #1 (Figure 1). -
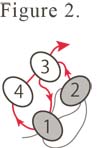 Figure 2.
Pick up bead #3 and go down through bead #1. Then, pick up bead #4 and go up through bead #3.Note
Keep the tension of your thread tight, but not too tight. If your thread is loose, your piece will have gaps between beads and loose its shape.
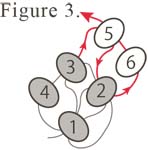 Figure 3.
Pick up bead #5 and go down through bead #2. Pick up bead #6 and go up through bead #5. The second row has been completed.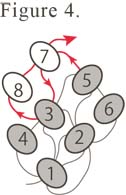 Figure 4.
Pick up bead #7 and go down through bead #3. Pick up bead #8 and go up through bead #7.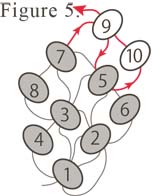 Figure 5.
Pick up bead #9 and go down through bead #5. Pick up bead #10 and go up through bead #9.
The third row has been completed.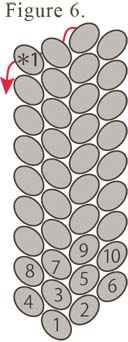 Figure 6.
Repeat the methods shown with Figures 4 and 5 until the strip has the length that you desire. Make sure that the middle two columns have the same number of beads.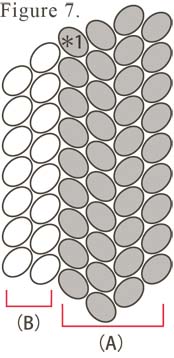 Figure 7.
From now on, you will add two columns at a time. To weave columns on the left-hand side, exit bead *1. Section (A) shown in Figure 7 has been woven, and section (B) will be woven after this.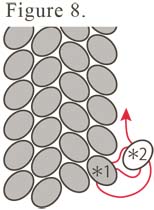 Figure 8.
Turn the strip upside down so that bead *1 will be on the bottom right of it. Pick up bead *2, go back down through bead *1, and go up through bead *2 as shown in Figure 8. The thread will show around bead *1.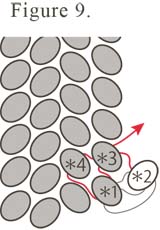 Figure 9.
Go down through beads *3 and *1. Go up through beads *4 and *3.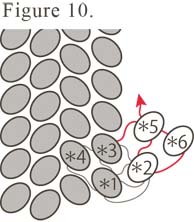 Figure 10.
Pick up bead *5 and go down through bead *2. Pick up bead *6 and go up through bead *5.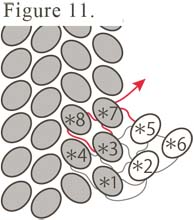 Figure 11.
Go down through beads *7 and *3. Go up through beads *8 and *7 .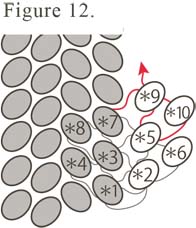 Figure 12.
Pick up bead *9 and go down through bead *5. Pick up bead *10 and go up through bead *9 .
Repeat the method shown in Figures 11 and 12 until it becomes the length you want.Flat VersionTubular VersionCircular VersionDevelopped Version-
Flat, Circular
 White Flower Wreath
 -
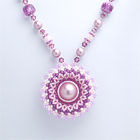
Circular, Tubular
 Pastel Flower
 -
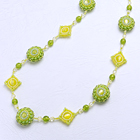
Circular, Tubular
 Olive
Olive -
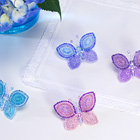
Flat, Tubular
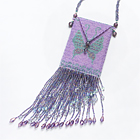 Purple Butterfly Amulet Bag
-
Flat, Circular, Tubular
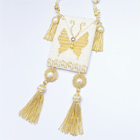 White Butterfly Amulet Bag
 -
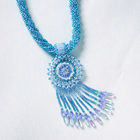
Flat, Circular, Tubular
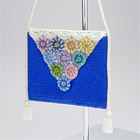 colorful pendant bag
 -
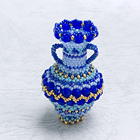
Flat, Circular, Tubular
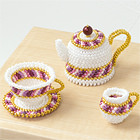 Miniature Stripe Tea Set
 -
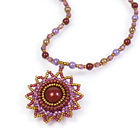
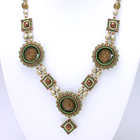
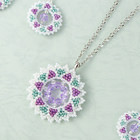
Flat, Circular
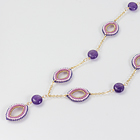 Amethyst Marquise Necklace
The article about the circular and tubular versions of Plaited Herringbone Stith and the Pastel Flower Necklace appeared in Bead & Button magazine (February 2003, issue #53).
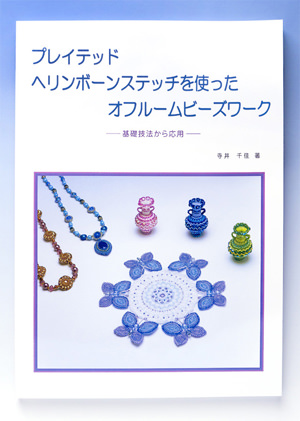 In April 2012, I published a book about plaited herringbone stitch, which is written in Japanese as shown in the above photo. I have been receiving many inquiries about projects using the stitch lately. For that reason, I made a tutorial in English to explain the basic techniques of the stitch from the book. See below.
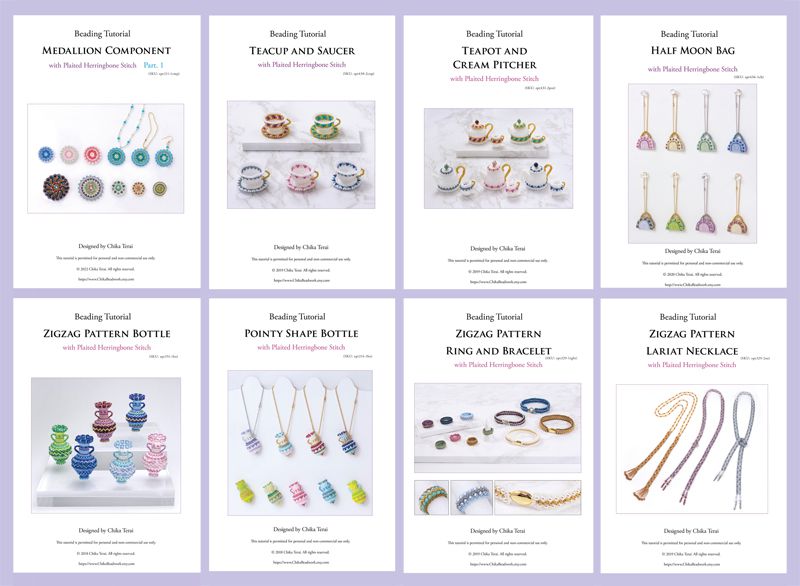
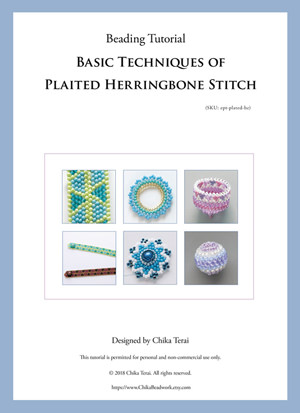 PDF beading tutorial of Basic Techniques of Plaited Herringbone Stitch in Etsy
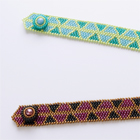
I explained the basic techniques of Plaited Herringbone Stitch in this tutorial. Additionally, I offered brief instructions for a triangular bracelet, a flower component, and a beaded ball as applications of the stitch.
Aside from this tutorial, I offered plaited herringbone stitch projects with step-by-step instructions. See below.